
- Smart Watch Payments and Digital Wallets in the Philippines - June 8, 2023
- Front-Load vs. Top-Load Washing Machines - May 25, 2023
- Pros And Cons Of Wireless Charging Power Banks - May 10, 2023
Last Updated on
Introduction
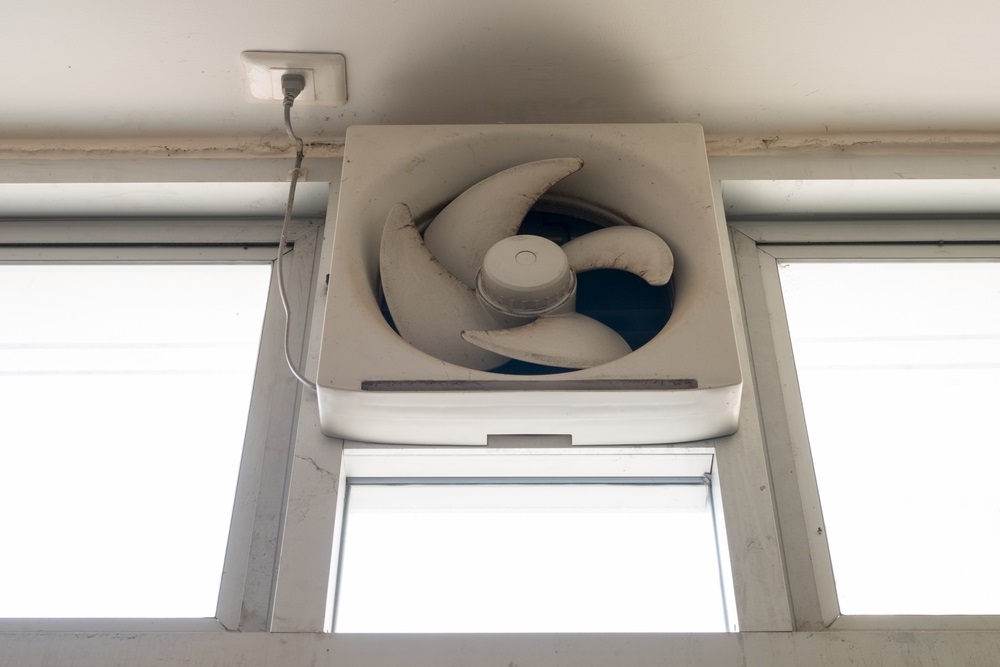
Installing an exhaust fan in your bathroom and kitchen is one of the simplest ways to reduce humidity levels and keep your house smelling fresh. From axial to centrifugal fans, there are a variety of exhaust fans available for installation that can help improve air circulation, remove odors and pollutants, as well as maintain good indoor air quality.
In this blog post, we’ll take a look at how to install an exhaust fan in both bathrooms and kitchens. Read on to find out more!
Benefits Of Installing An Exhaust Fan
Installing an exhaust fan can boost air circulation, and reduce humidity and odors in a room, creating a healthier space.
Improved Air Circulation
Improved air circulation is one of the many benefits of installing an exhaust fan. A properly installed and working fan helps to quickly remove stale, humid, or hot air and replace it with fresh, clean air.
This can help increase comfort levels in your home by reducing humidity which can contribute to mold, allergies, and other health problems. Installing an exhaust fan ensures that odors from cooking, showering, and cleaning are removed more efficiently from your kitchen and bathroom areas as well.
Reduced Moisture And Humidity Levels
Reducing moisture and humidity levels in the bathroom or kitchen is essential for preventing mold and mildew. An exhaust fan helps to reduce these levels by drawing out hot, damp air and replacing it with fresh air from outside.
This keeps the room temperature regulated and creates a healthier environment for all family members. To ensure optimal performance of your exhaust fan, consider installing additional insulation around the vent pipe or switching to a more powerful model.
Reduced Odours And Pollutants
Having an exhaust fan in your bathroom and kitchen can help reduce odors, pollutants, and other airborne contaminants that can accumulate in these areas. An exhaust fan is designed to draw out stale air with the help of a ductwork system and replace it with fresh air from outside.
The ventilation process helps prevent the buildup of allergens such as mold, mildew, dust mites, pet dander, and smoke particles. Additionally, this will keep humidity levels at bay and improve overall indoor air quality.
How To Install An Exhaust Fan
Understanding the different types of exhaust fans available and their installation process is essential for ensuring a successful installation for your kitchen or bathroom exhaust fan.
Understanding The Type Of Exhaust Fan
When it comes to installing a kitchen or bathroom vent fan, it is important to understand the type of fan you need for the job. There are three main types of exhaust fans; Axial Exhaust Fans, Centrifugal Exhaust Fans, and Inline Exhaust Fans.
Axial Exhaust Fans are best used for larger spaces such as workshops or garages as they have greater air movement capabilities. Centrifugal Exhaust Fans use higher pressure to move air at a faster rate and are perfect for places where ventilation needs to be improved quickly. Inline Exhaust Fans combine both axial and centrifugal technologies into one unit which makes them suitable for areas with difficult access points due to their slim design and flexible ducting options.
Axial Exhaust Fans
Axial exhaust fans are the most common type of kitchen and bathroom fans. They work by drawing stale air from a room through an intake grille, which spins the blades to create cooling airflow.
These types of fans typically have shutters for manual control over the amount of airflow, so you can adjust the ventilation levels according to your needs. Installation is relatively straightforward and they don’t require complex wiring or ducting systems – just mount them directly onto walls or ceilings and connect them up with other components such as power outlets, motor speed controllers, dampers, and filters.
Centrifugal Exhaust Fans
Centrifugal exhaust fans are ideal for those who need a powerful extraction rate, as they can move air more quickly than axial fans. Rather than forcing air through an impeller, centrifugal fans draw in air into a spinning drum-like unit to create pressure and lower the total amount of noise produced. This makes them particularly suitable for bathrooms and kitchens with bigger areas that require higher levels of ventilation.
Inline Exhaust Fans
Inline exhaust fans offer an efficient and cost-effective way to ventilate bathrooms, kitchens, and other areas of the home. These slim fans are installed by running a duct from the fan housing directly through a wall or ceiling opening to the outside.
They feature an enclosed motor that allows for quiet operation, making them ideal for bedrooms and living spaces. In addition, inline exhaust fans are designed with adjustable shutters that can be adjusted for different ventilation needs. These units also come equipped with powerful motors that draw air in from both intake and outtake vents, providing better air circulation throughout the entire space.
Steps For Installing An Exhaust Fan
Installing an exhaust fan is a relatively straightforward process; however, there are certain steps to take. Firstly, you will need to identify the type of exhaust fan that fits your needs – this may be an axial, centrifugal, or inline fan.
Once you have selected the right exhaust fan for your space, measure and mark its location on your wall or ceiling where it will be installed. Then cut out a ceiling hole using a drywall saw following the measurements taken earlier.
Afterward, mount the fan securely and connect it with the necessary electrical wiring before connecting it to the appropriate venting ducts and joints. Finally, check that everything is properly connected and secured before turning on the power supply for operation.
Measure And Mark The Location
Before you begin the installation of your exhaust fan, you should measure and mark the location where you want it to be installed. Measure the height from floor to ceiling, as well as the width of both wall and ceiling around where it will be positioned.
Once measurements have been taken, carefully mark these positions with a pencil in order to ensure that your exhaust fan is properly installed in its designated space. It’s better to double-check all measurements before marking out anything on walls or ceilings. Make sure that all areas are clearly marked so there is no confusion when beginning the installation process.
Cut Hole In The Ceiling Or Wall
Cutting a hole in the exhaust fan is an important step to ensure proper installation. Always measure and mark the location before drilling or cutting into the ceiling or wall.
Using a stud finder will help you avoid cutting into any joists, fan wires, or other obstructions within the wall. To cut through drywall or sheetrock, use an electric drill and either auger bits, keyhole saws, jig saws with fine teeth blades, or even a standard utility knife.
Be sure to be extra careful when making cuts near insulation in order to minimize energy loss from your home. Once you’ve made all of the necessary holes for wiring and ducting safety measures should be taken around these exposed areas in order to prevent moisture damage from occurring in your walls and ceilings.
Mount The Fan And Connect The Wires
Once the hole has been cut, it’s time to mount the fan. Carefully attach the mounting screws and tighten them into place.
Then carefully connect any wiring that is required for power before finally laying all of the electrical connections inside a junction box. Once this is done you’re ready to install your exhaust ducting from the fan to an external vent, or into your attic or crawl space if it’s being used as an intake.
Install The Exhaust Duct
Installing the exhaust duct serves as the last step before testing the newly installed fan system. A properly-sized hose ensures that hot air, odors, and moisture are quickly and efficiently removed from your bathroom or kitchen.
Depending on the size of your space, you may need to install wall cladding or a vent stack in order to fit a larger diameter hose. Be sure to use insulated materials if you’re running ducting through colder parts of your house such as an attic or basement space. Secure the fan unit with screws and nails then test it out for operation by turning it on.
Special Considerations For Bathroom And Kitchen
When installing a kitchen or bathroom exhaust fan, there are some special considerations to keep in mind. Installing an exhaust fan in the bathroom requires understanding local building codes and ventilation requirements for the area. The size of the fan should be able to properly ventilate the space while ensuring no excess moisture and steam remains around electrical components within the ceiling or wall.
In a kitchen, it’s important to ensure that you choose an exhaust fan that can handle grease as well as odors from cooking and other activities. The installation process also involves installing proper ductwork between the outlet of the unit and vents outside of a home. It is essential to use insulated flexible metal ducts with fire-resistant material to keep any flames away from flammable materials such as wood or plastic.
Installing A Bathroom exhaust fan
Installing a bathroom fan is important for improving air circulation, reducing moisture and humidity levels, and eliminating odors and pollutants. When installing a fan in the bathroom, it’s important to understand what type of exhaust fan best suits your particular needs: Axial or Centrifugal fans are popular for smaller bathrooms while Inline fans offer better performance for larger spaces.
To install a bathroom fan, you need to measure the area where you want the vent located and mark its position before cutting a hole in either the bathroom ceiling or wall that is slightly bigger than your chosen fan housing so it will fit snugly. Securely mount your fan unit to ensure stability before connecting up all wires and outlets required. Ensure that all insulation like louver shutters is also installed properly as well as any ductwork necessary with any applicable connectors before attaching an intake grille over everything to keep outside elements out. Follow installation instructions carefully for optimal results when venting out a bathroom.
Installing An Exhaust Fan In A Kitchen
Installing an exhaust fan in the kitchen is essential for ensuring good air circulation. This helps to reduce humidity and odors from cooking, as well as prevent grease buildup on walls and ceilings. It’s important to properly measure the area where you want to install your exhaust fan before beginning the process. You’ll need enough space around and above it for adequate ventilation, including clearance between the fan housing and joists for wiring and ductwork connections.
Drilling a hole into your ceiling or wall is necessary to accommodate the vent pipe, which will draw air away from your kitchen. Make sure you use a metal vent pipe rather than plastic so that moisture won’t cause any trouble later down the road. Also, ensure that there are no electrical wires nearby when drilling! Lastly, once everything is connected you should test out your new exhaust fan to make sure it’s working properly – if not there may be something wrong with either its power connection or vents leading outside of your house.
Conclusion
No matter the size or needs of your exhaust fan installation, it’s important to ensure that all necessary supplies are gathered ahead of time, you understand the instructions and safety protocols for any electrical work required, and that proper venting is in place before use. With careful planning and attention to detail, installing an exhaust fan yourself can be a rewarding experience!